Views: 113 Author: Site Editor Publish Time: 2024-04-09 Origin: Site


Maintaining the beauty and durability of vinyl floors is easier than you might think. With their versatility and variety of patterns and colors, vinyl floors have become a popular choice in homes and businesses alike. But how do we keep them looking spotless and preserve their charm? The secret lies in regular cleaning and knowing the right techniques to prevent damage.
We've all been there, looking down at a stain or a scuff mark on our otherwise pristine vinyl floor, wondering if it's time to call in the professionals. But fear not! With a few simple tools and some household items, we can tackle most messes ourselves. Whether it's a splash of apple cider vinegar or a dab of baking soda, finding the perfect cleaning solution doesn’t have to be a shopping list head-scratcher.
Regular cleaning and proper techniques are key to maintaining vinyl flooring.
Household items like vinegar and baking soda are effective in cleaning vinyl floors.
Immediate attention to spills and stains helps preserve the floor's appearance.
Are you ready to keep that vinyl flooring sparkling clean? Well, we're here to make sure you're prepped and ready to go! Vinyl flooring not only gives your space a sleek look but is also pretty durable and simple to maintain. Let's make sure we start on the right foot—after all, no one likes to backtrack, right?
First things first: know that vinyl is your buddy because it's so easy to clean. But even with the most resilient pals, we need to treat them right. So, grab that soft-bristle broom or your trusty vacuum, just make sure it's set for hard floors. We wouldn't want to scratch our friend, would we?
Now, let's run through our toolkit:
A vacuum cleaner with a hard floor setting (we don't want any scratches)
A soft-bristle broom (for that gentle touch)
Microfiber cloths (to pamper the surface)
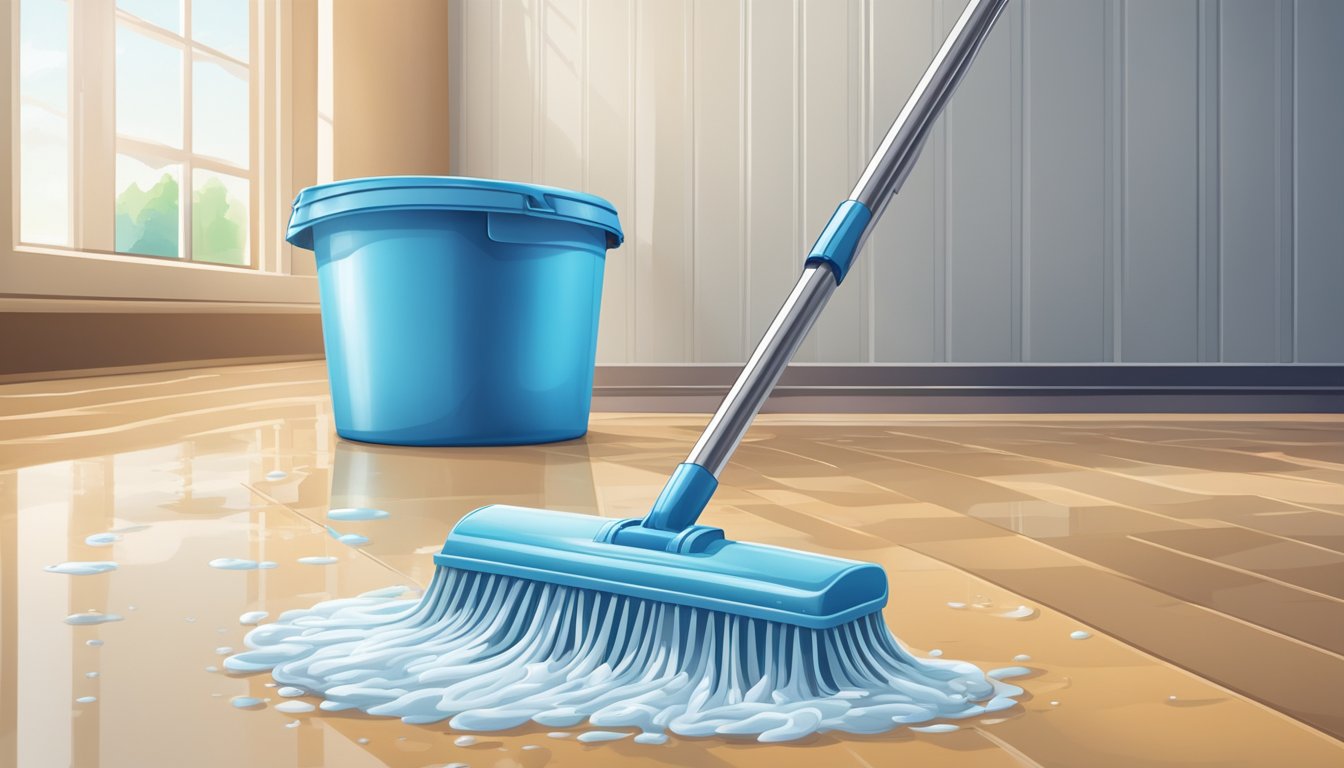
A mop (your trusty sidekick for a cleaner future)
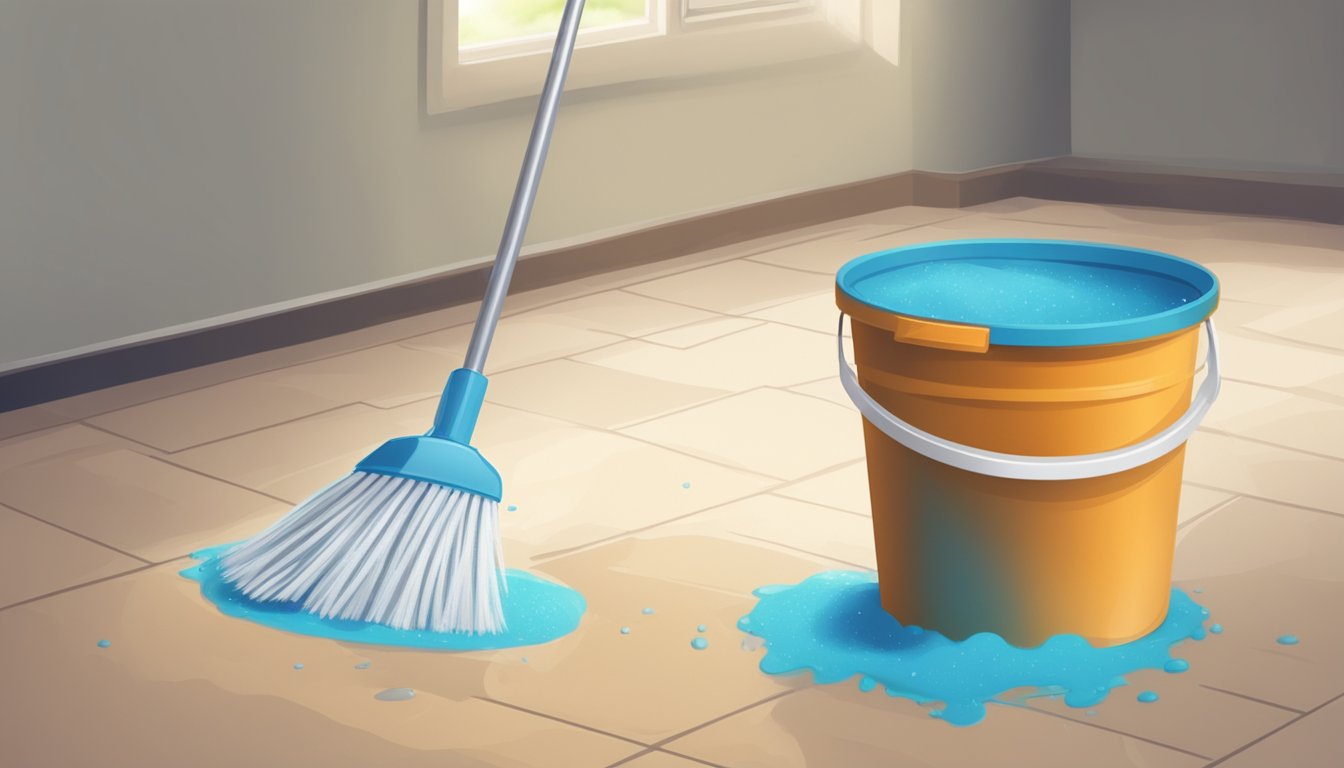
Before we dive in, sweep or vacuum to get rid of that pesky dust and dirt. See it as a warm-up exercise for both you and your floor. This will make the actual cleaning process a breeze.
And hey, don't forget about safety precautions. Make sure the area is slip-free, and your cleaning tools are in shipshape—we don't want any unexpected trips or spills.
So, are we equipped with our gear? Check! Got our knowledge of the material? Check! Then it sounds like we’re geared up and ready to roll. Let's make your vinyl floors shine with pride!
When we talk about cleaning vinyl flooring, you might think, "Isn't it all the same?" Surprise! There's a little more to it than meets the eye. Vinyl flooring is a fantastic option for areas with a lot of foot traffic, like our beloved bathrooms and pet-friendly zones in our homes. Its resilience is a lifesaver, but that doesn't mean we can go cleaning willy-nilly.
Here's a checklist to keep our vinyl floors spick-and-span without the whoops-damaged-my-floor heartache:
Confirm Floor Type: You’ve got LVP, sheet vinyl, or VCT? They each have their preferences, kind of like us with our morning coffee. So let's make sure we're using methods tailored to our specific vinyl type.
Peak at the Manual: Got the manufacturer’s oh-so-helpful instructions handy? Great! Give them a read like you would the back of a cereal box, it's always good to start somewhere.
Vinegar for the Win: No soap residue wants to mess with vinegar. A simple mix with water can work wonders. It’s like a magic potion, but for your floors!
Baking Soda Touch-Up: Encounter a rogue scuff mark or spill? Baking soda mixed into a paste can be your best friend. Apply, wait, wipe—like it never happened.
Dance Gently With Mops: Use soft, microfiber mops for a gentle touch; they’re like the fluffy pillows of the cleaning world.
Pets & Puddle Protocol: Accidents happen. When they do, we're on it quicker than you can say "bad dog!" with a swift swipe of our vinegar solution.
Shower Area Strategies: Bathrooms get damp, so we keep an eye on sealing those edges and corners. Water and vinyl are a bit like cats and water—not the best match.
Remember, we're going for clean—not a complete floor makeover. So, we use our cleaning products judiciously, and always with the aim of keeping our floors under our feet for years to come.
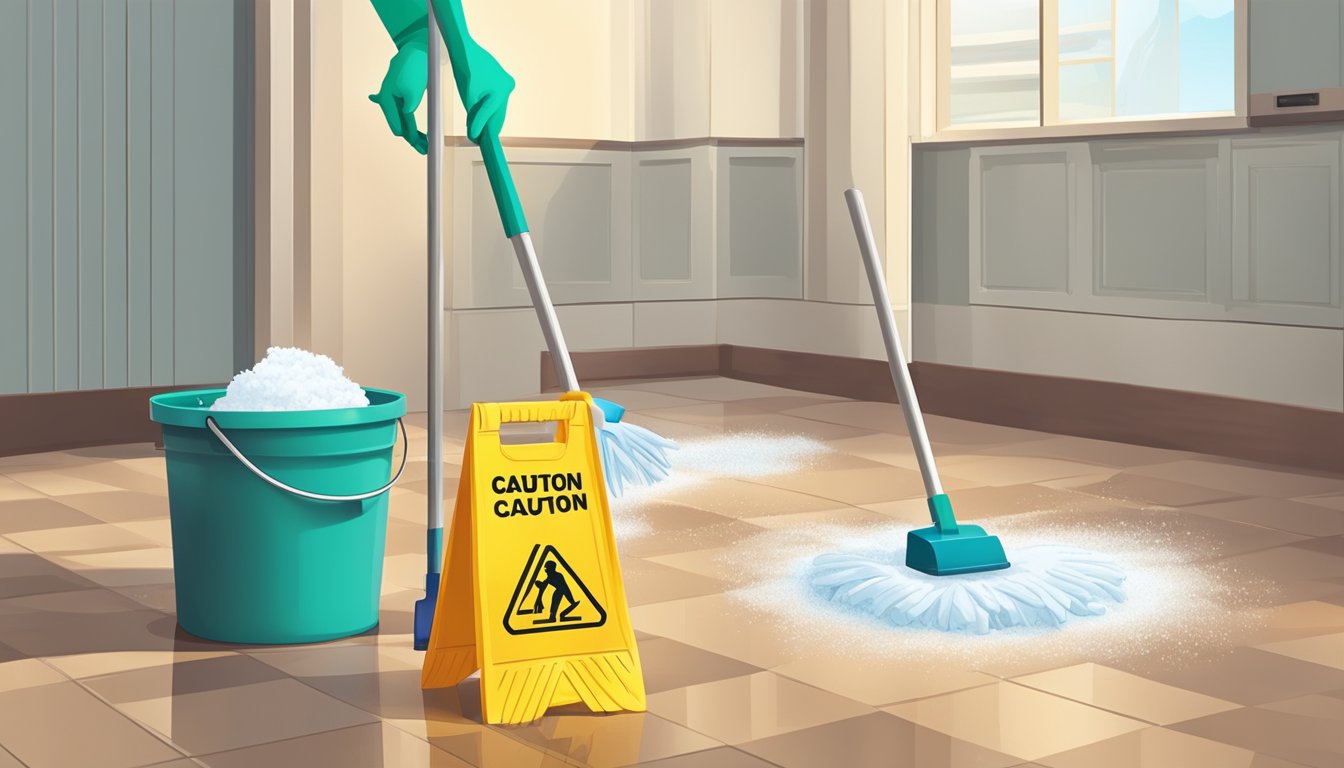
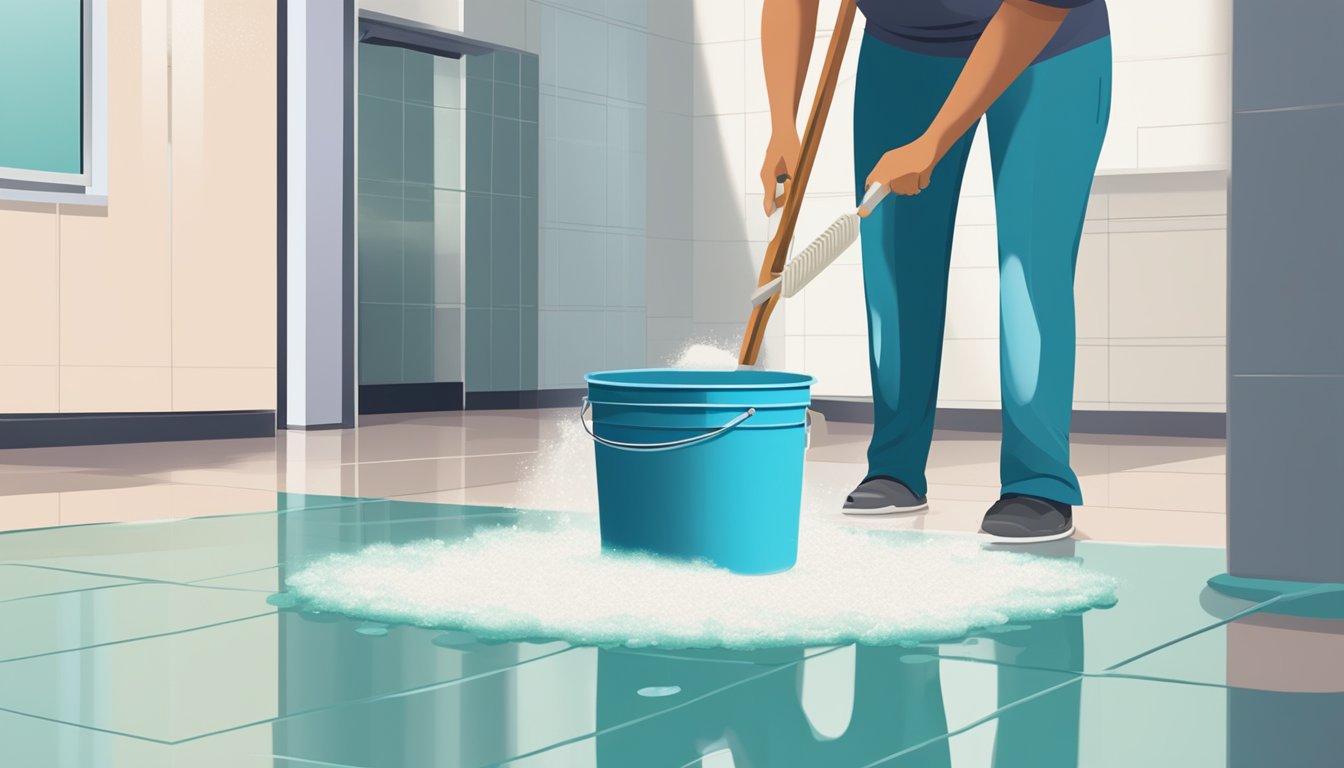
Ever slip on a wet floor and do an accidental dance to regain balance? We've all been there! To keep our vinyl floors looking spick and span without turning our homes into a slip 'n slide, we've got to embrace a bit of safety. Let's dive in!
Slippery When Wet When mopping, it can get quite slippery. We recommend ensuring the area is well-ventilated to speed up drying. It's a good idea to pop up a "Wet Floor" sign or at least tell the family, "Watch your step!" Remember, we're cleaning the floors, not icing a hockey rink!
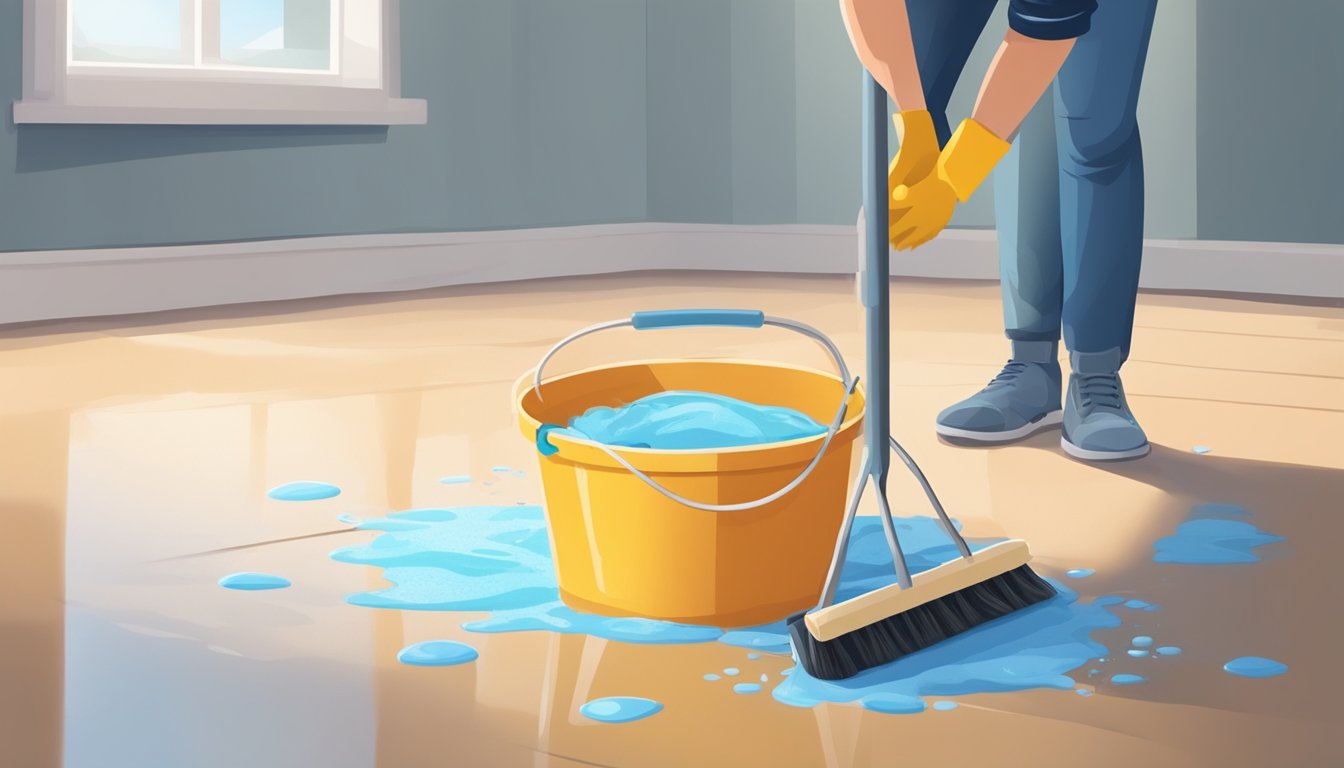
Chemical Safety Love the feeling of a squeaky-clean floor but not so much the harsh chemicals? Us too. Here's a tip: when using any cleaning solutions—even those DIY vinegar concoctions—slip on a pair of gloves. It keeps our hands safe, and honestly, it makes us feel a bit like a cleaning superhero.
Ventilation: Open windows/doors.
Mark Wet Areas: Use signs or inform family.
Gloves: Always a good companion!
Short and sweet, right? Sticking to these simple yet effective safety tips ensures our vinyl floor cleaning escapades are both successful and accident-free. Now, let's keep that floor looking awesome without any oops moments!
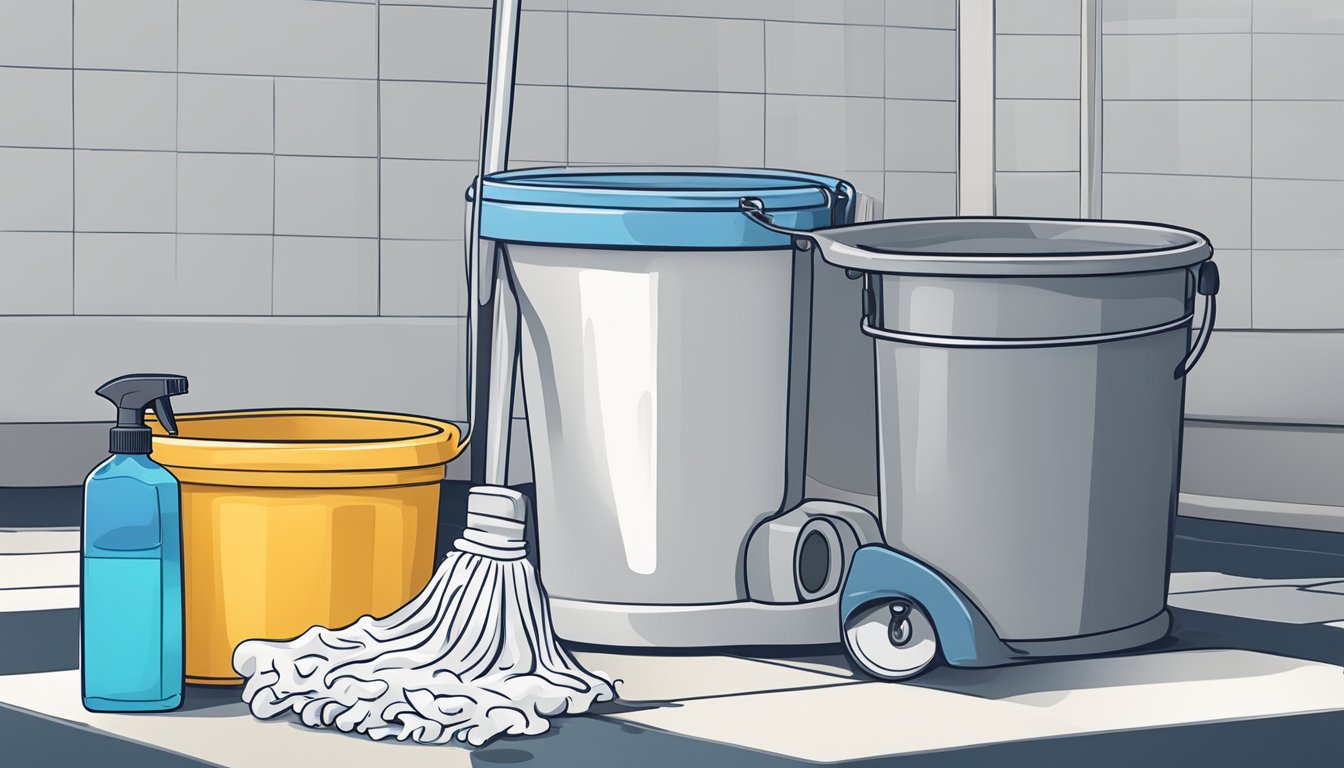
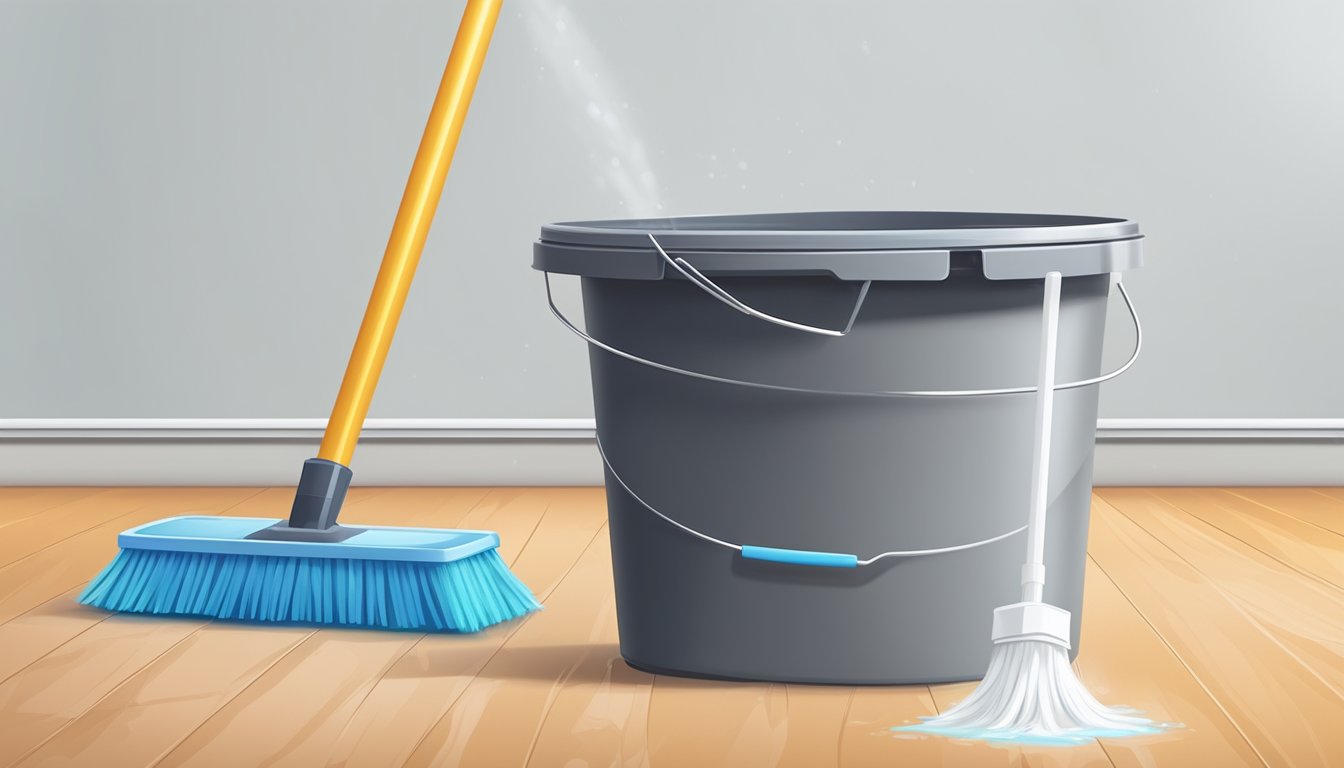
Alright, let's gather our tools and get ready to make our vinyl floors sparkle. We'll need a few basic items to handle this task effectively. Have you got your notepad ready? Here’s what we’ll need:
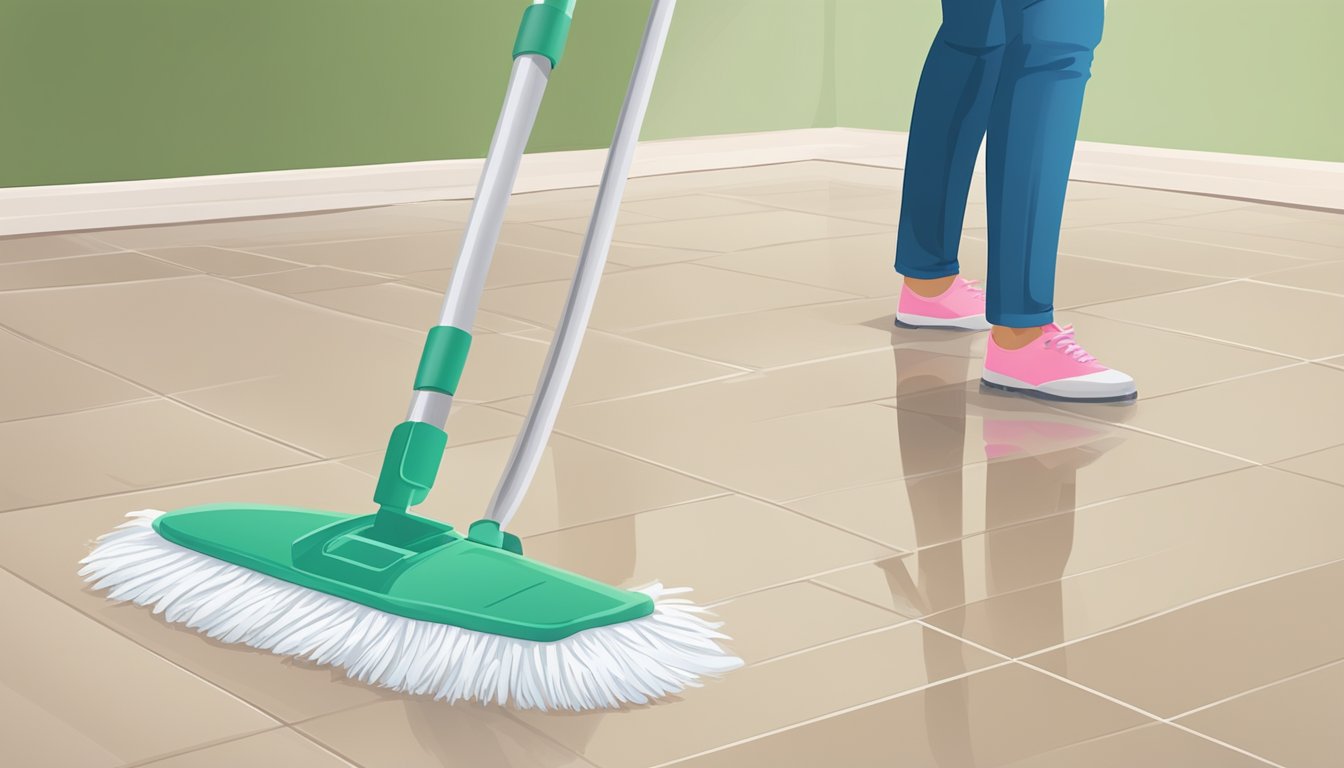
Mops: Our trusty microfiber mop is perfect for vinyl floors. It's gentle yet effective.
Vacuum Cleaner: A vacuum with a soft brush attachment is ideal to pick up loose dirt without scratching the floor.
Vinegar: Plain old apple cider or white vinegar will do the trick. This is for our homemade cleaning solution.
Water: It’s always on hand, right? Warm water is best for dissolving grime.
Baking Soda: Stubborn stains, beware! Baking soda is our go-to for making a paste that lifts those tough spots.
Bucket: Any kind will do, as long as it’s clean and can fit our mop.
Soft Cloths: These are for tackling any spills or stains directly.
Now, let’s mix things up a bit!
With our cleaning solution, a mix of water and vinegar is a gentle yet powerful combo. Just one cup of vinegar to a gallon of warm water, and we’re good to go. Encounter a tough stain? No problem! We’ll create a paste with baking soda and a little water.
Remember, we’re here to make this easy and efficient. No fuss, no muss—just simple steps to a floor so clean, you could almost eat off it (but please, let’s not actually try that). Armed with this kit, we’ll have those floors shining in no time!
Maintaining our vinyl floors doesn't have to be a chore if we keep up with the basics. Here are some friendly and straightforward tips that'll make cleaning a breeze and keep those floors looking their absolute best.
First thing's first, we should dry mop or sweep those floors to catch any loose dirt or debris. Did you know that just a quick sweep can significantly prolong the life of your vinyl flooring? It's true! And don’t forget to use the soft brush attachment on your vacuum to prevent any scratches.
Now, let's talk about a DIY cleaner. Mix one cup of white vinegar with a gallon of hot water for an eco-friendly solution. Vinegar's acidity works wonders on grime without leaving residue. Just remember to dry your floors after mopping; no one likes water spots!
Got spills or scuff marks? Don't worry! Create a paste with baking soda and water, apply it directly to the stubborn spot, gently rub with a soft cloth, and voilà! Always be gentle to avoid any scratches.
When we’re not DIY-ing, using a commercial vinyl floor cleaner can be our go-to. Pick a pH-neutral cleaner that's made just for vinyl. It's a sure way to tackle dirt without harming the finish. Just follow the instructions on the label, and we’ll be all set.
Keep in mind, it's crucial to clean spills immediately to prevent stains; just a quick wipe can save us a lot of elbow grease down the line. With these practical tips, our vinyl floors will keep looking as good as new. Happy cleaning, everyone!
Ever catch yourself wondering how to keep those vinyl floors looking as inviting as they did on day one? Well, we've got some easy-to-follow tips for making sure our vinyl stays in tip-top shape! Let’s dive in!
First things first, regular cleaning is the name of the game. We love the simplicity of weekly sweeping or vacuuming to catch any pesky dust bunnies. It's like giving your floor a mini spa day—and who doesn't love a little pampering? After a good sweep, it's time to bring out the damp mop, which is your trusty sidekick in the battle against dirt.
Now, for deep cleaning, mark your calendars because we're going monthly with this one! Grab a cleaner that's made for vinyl floors and let's get down to business. It's not about using the strongest product, but the right one, so keep an eye out for pH-neutral options. We want to baby our floors, not send them into a tailspin!
And have you ever experienced the shock of a spill? Are we right? Ugh! But taking care of spills swiftly means we avoid those "oops" moments that can lead to damage. So let's be quick on our feet and wipe up mishaps ASA-please.
Maintenance is also about prevention, and doormats are our unsung heroes. They keep the dirt out so our floors can stay fresh and fabulous.
Here’s a quick checklist for vinyl floor care:
Sweep or vacuum weekly
Mop with a damp, microfiber mop
Use a PH-neutral cleaning product or solution
Tackle spills immediately
Employ doormats to minimize dirt
With these tips in our cleaning arsenal, we'll ensure our floors maintain their charm and last longer. Now, let's go show our floors some love!
Hey, friends! Let's chat about keeping those gorgeous vinyl floors of ours in tip-top shape, and specifically, things we should steer clear of to avoid any mishaps. You know, sometimes what we don't do is just as important as what we do.
First off, we've all heard the siren call of a shiny new cleaning gadget, but trust us, steer clear of steam cleaning. It might seem like a quick and neat solution, but that high heat can actually cause our vinyl to warp. And who wants a bumpy dance floor, right?
Also, a big no-no is using abrasive tools like steel wool or scouring pads. Sure, these might be our go-to for tough stains elsewhere, but on vinyl flooring, they can leave unsightly scratches. Let's avoid turning our floors into a scratch art masterpiece.
Now, it might be tempting to reach for that bleach or ammonia-based cleaning solution under the sink, but let’s not. These harsh chemicals can be too rough on vinyl and might strip away its shine, or worse, discolor it!
And remember, less is often more. A mere splash of water is sometimes all we need. If we come across a tough spot, a gentle cleanser is our best pal. We can leave the heavy duty stuff for other kinds of messes.
To sum it up, let's keep it cool (literally, no steam!), gentle (put down the scrubby pad), and kind to those beautiful floors of ours with mild cleaning solutions. This way, we'll keep them shining bright like the stars they are without any drama!
Hey there! Cleaning vinyl floors is a breeze if we tackle it the right way. Who wants to see those pesky scuffs and stains anyway? Let's get those floors looking spick and span together!
Preventive Measures: First things first, let's keep that dirt at bay. We've found that a simple measure like using doormats can work wonders in trapping dirt before it hits our floors. And don't forget, those lovely furniture pieces need to play nice with our vinyl—protective pads under furniture legs are a must!
Immediate Action: Spill something? No stress! We learned the trick is to act fast. Grab a cloth and clean up any spills promptly. It's the best way to prevent stains from getting cozy on our floors.
Tennis Ball Quick Fix: Sometimes all we need is a tennis ball. Just rub it over the scuff mark and watch it work its magic.
Melamine Sponge Method: A damp melamine sponge can also lift those scuffs. Gentle pressure, like we're erasing a pencil mark, should do the trick.
Got a challenging stain? Whether it's ink, wine, or juice, we don't need to fret!
Rubbing With Rubbing Alcohol: A white rag and a bit of isopropyl alcohol can make those heel marks a thing of the past.
Vinegar Solution to the Rescue: A simple mix of vinegar (that powerhouse cleaner) with water can handle tougher stains. Remember, it's about a cup of cider vinegar per gallon of water. If we want a little more oomph, a few drops of liquid dishwashing soap won't hurt.
After dealing with stains, let's give the spot a nice rinse with water, and voilà! Our vinyl floors should be looking as good as new. Isn't it wonderful when a plan comes together? Now, let's enjoy our beautiful, unblemished floors!
When it comes to keeping our vinyl flooring spotless and gleaming, we've all got a few questions up our sleeves. Let's get straight to answering them, so you can get back to enjoying your pristine floors in no time!
For a gentle yet effective clean, we love whipping up a simple mix of warm water and dish soap. A tablespoon of liquid dish soap per two cups of water is our go-to ratio. It's gentle on the floors but tough on the grime.
Absolutely! Vinegar's natural acidity works wonders on dirt and grime without leaving residue. We recommend mixing a cup of apple cider vinegar with a gallon of hot water for a natural, deep clean.
Keep those vinyl floors in top shape by avoiding abrasive scrubbers and harsh chemicals. Bleach and ammonia-based cleaners can be too severe, and avoid wax-based products as well—they can cause buildup that's hard to remove.
For that pesky, ground-in dirt, start with a soft-bristle brush or microfiber mop to sweep away loose debris. Then, tackle the stubborn spots with your homemade cleaner or a pH-neutral floor cleaner. Take it slow, no need to rush—we're going for thorough, not hasty.
We've got a secret to share: buffing your vinyl floors with jojoba oil can add a beautiful, natural shine. Just apply a small amount and buff it gently, and you'll see that luster return without any slippery residue.
If your floors are looking a touch weary, give them a refreshing mop with the vinegar solution we mentioned before. Once they're clean, a jojoba oil buff can help them look fresh off the showroom floor. Regular cleaning and immediate spot treatment when spills happen will help maintain that new-floor look we all love.
There you have it—our guide to some of the most pressing FAQs on vinyl floor care. Now go enjoy that spotless shine!